Art Activity Video: Bonsai Tree
Appreciate the beauty of nature by creating a bonsai tree!
Activity best for children age 4 and up
Japan’s Bonsai, or “Little Tray” trees, date back at least a thousand years when there was much exchange of goods, arts and culture between Japan and China along trade routes called the “Silk Road.” They share a common religion as well, called Buddhism, that influences many of their traditions. From tea drinking, to writing, to gardening small trees, the real point of doing something is to pay careful attention to what you are doing at that moment.
The Japanese are very mindful of the beauty that nature provides us, whether we see it as “perfect” or not! The season of fall is a glorious time of harvest and gathering that gives way to the quiet and restful time of winter. Spring trees bloom beautifully, but lose their blooms to the cool shade that green leaves and the fruit of the season of summer provides us. The animals who use the tree all year long for a home, food and protection know that nothing is permanent in life, and every season is what it should be exactly when it needs to be! Do you have a favorite season, and why?
Materials you’ll need:
Two paper tubes (paper towel roll or toilet paper roll)
Masking tape
Recycled plastic tray
Water-based markers in brown, black, orange and yellow plus others for animals
Materials for foliage of the season! Colored tissue, paper towels, cotton, silk flowers, cellophane, real leaves and flowers from your yard or gathered from a park
Paper to draw or clay to make animals is optional, but a fun addition
Rocks, pebbles, grass or twigs for the base of the sculpture
Scissors
A tray with a moist paper towel for the “ patina” we will do on the bark
Directions
STEP 1
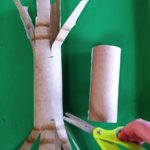
Cut or tear all around about a third of the tube, on both ends for branches and roots. If wanting a fuller tree canopy, cut extra branches in a smaller tube on one side. You can use two tubes (one long and one short as in the examples), or two short or one long tube. It depends on your child’s attention span, skills and desire.
Parent tip: Marking how far down on both ends of the tube is a good guide to give the kids a reference point. However, Bonsai and Nature never are completely even or straight. It will look even more natural for there to be uneven lengths and thicknesses. If it is easier to tear the branches and roots that is a great technique for this project!
STEP 2
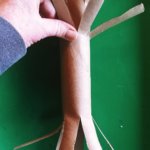
If using more than one tube push the short tube with branches inside the longer tube with the branches and roots. Bending and wrinkles are great! You won’t need to tape them together.
STEP 3
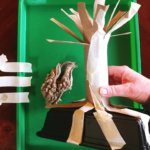
Once the tree is constructed let’s begin taping the roots down to the upside down plastic tray. Using one inch of masking tape at a time, create wrinkles and lumps throughout the tree. Be sure to tape down the “roots” to your plastic tray. Continue going up the tree with the tape layering and leaving wrinkles and gaps all the way to the ends of each branch.
Parent tip: Younger children may need to look at a tree or a picture of tree bark to understand what they are trying to create! You can find some examples below.
STEP 4
Now that we have our tree covered in bark, let’s “patina,” or color the bark! Color the bark with your water-based markers. Use several colors together, for example, black, brown, yellow, and orange together all around the tree, overlapping and leaving gaps as your child wishes.

STEP 5
Use a small dish or tray with a moist paper towel and your children’s fingers to blend the colors into the bark.
Parent Tip: You can use a moist paint brush for blending colors together, but the masking tape is best colored with fingers! There is no need for a lot of water here, just a little from a wet paper towel on the brush or fingers is more than enough.
STEP 6
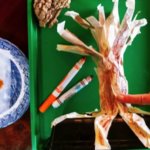
What is your favorite season and how should your tree look that time of year? Let’s finish your little bonsai tree with the leaves, flower or fruit it may show that season of the year. Using materials you find around the house, or found in your yard or the park, weave those materials through the branches of your bonsai tree. You can tape them if you like. You can complete your bonsai scene with paper drawings or clay animals that would love the tree as a home, protection or food.
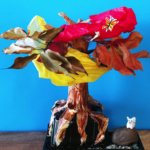
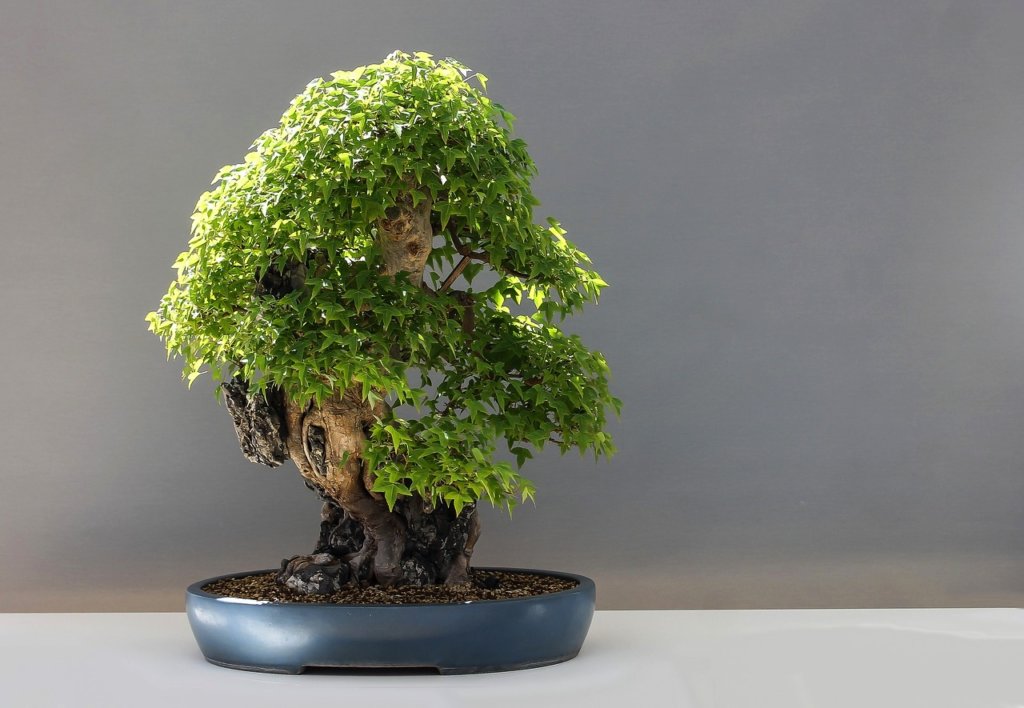
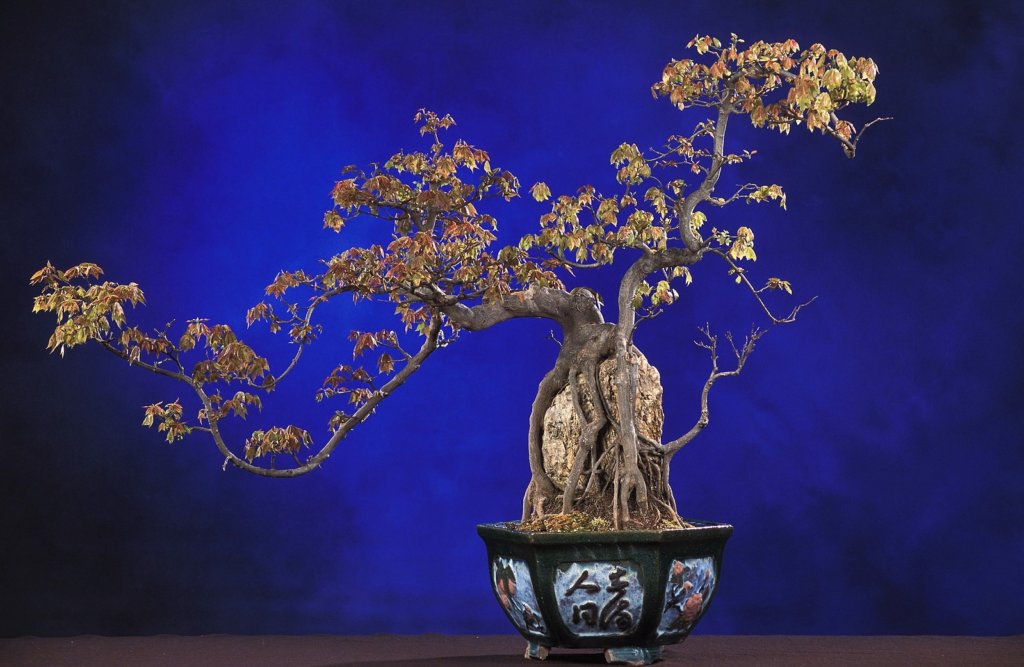
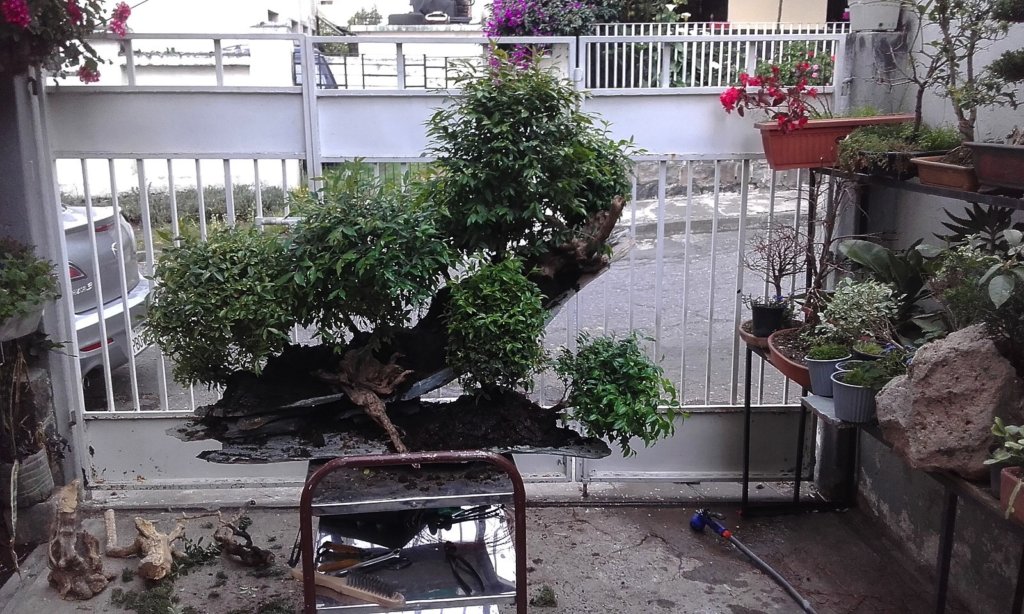
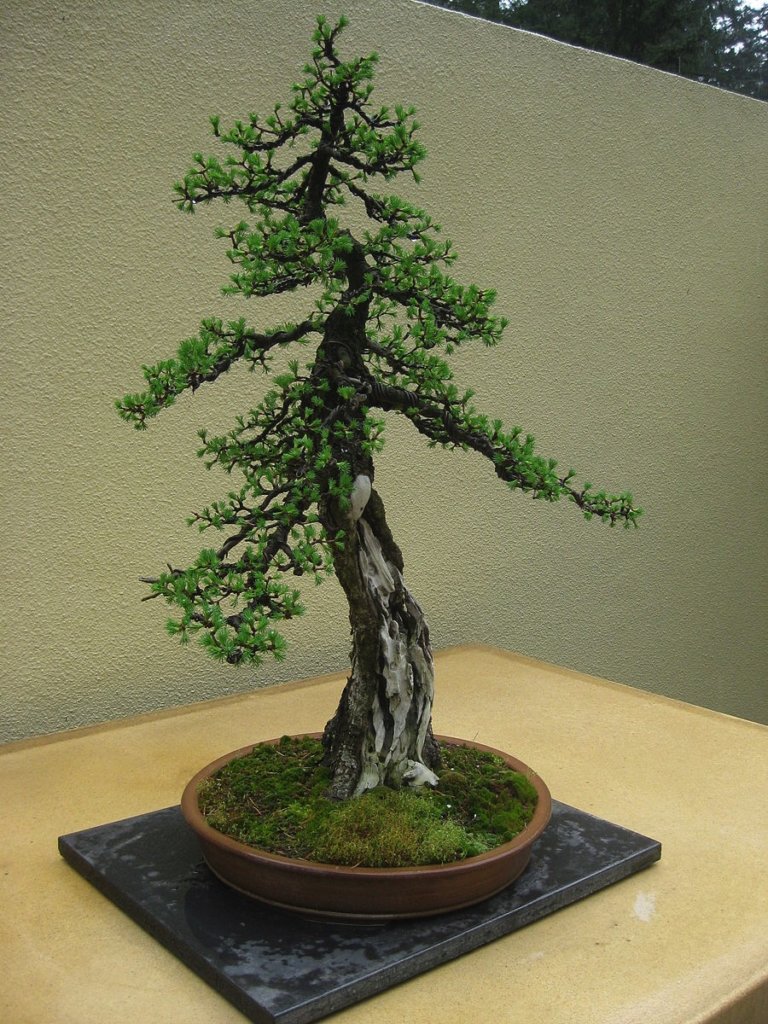
The following images are all examples of Bonsai trees! What seasons do they represent? Are they the same size, color or type of tree? What do they make you think about? And what story do they tell?
Share your bonsai trees with us on Instagram by tagging @sdcdm320!
Questions about this activity? Email education@sdcdm.org